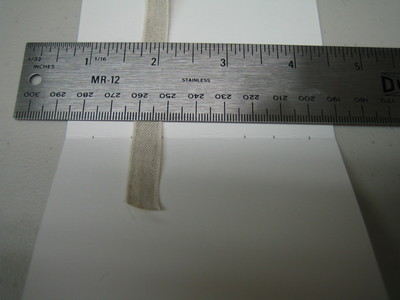
Sewing template
For this project, I bought a small roll of bookbinding tape. You can get it from several online suppliers. I believe strips of white denim or linen would be a good substitute. If you make them from cloth scraps, be sure to boil and dry the stuff so it doesn't shrink when glued into the book.
Cut two pieces long enough to wrap around the back and extend an extra half inch across the front and back. On a full sized book, the finished tapes would extend about one inch. It's actually better to cut them a little longer at this stage so you can trip off then ends that get frayed from handling during the binding process.
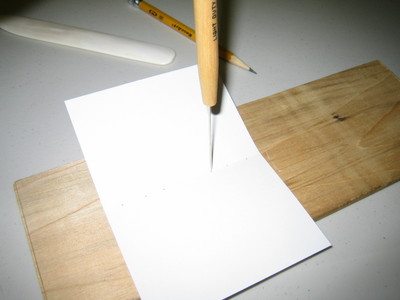
I use a simple folded cardboard template as a guide for piercing holes in the signatures. There are contraptions for this purpose. A needle should be used that is smaller than the thread. The idea is to avoid gaping holes where the thread passes through.
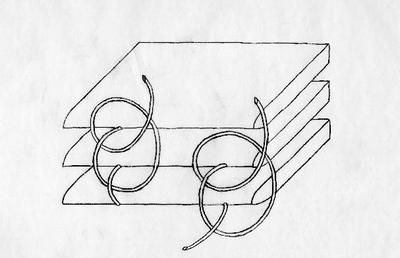
Six holes are used: two holes straddle each tape and two more holes each 3/8" from the top and bottom. The outer pair of holes are used for the "kettle stitches" shown below.

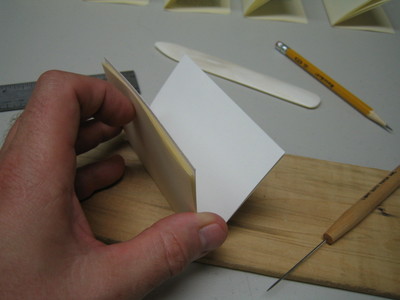
Sewing is traditionally done using a sewing frame. For a larger book, this would be essential. The Evil Rooster shows a sewing frame improvised from a tipped-over chair.
I had no difficulty sewing this book "in hand."
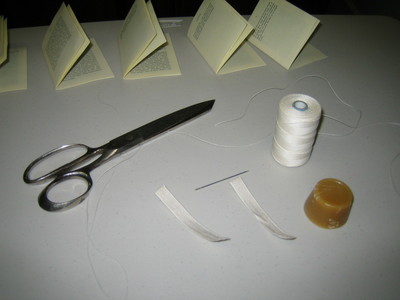
The perceptive reader will notice that the following photos are made from a different book. The originals were out of focus, so I took new ones from a more recent project.
I despair of getting a good photo of the kettle stitch, so here is a quick sketch to (hopefully) make it perfectly clear. The stitch on the right is the first kettle stitch. It is unusual in that it starts by wrapping around the knotted loose end of the thread. The stitch on the left shows how the second and all subsequent stiches are made.
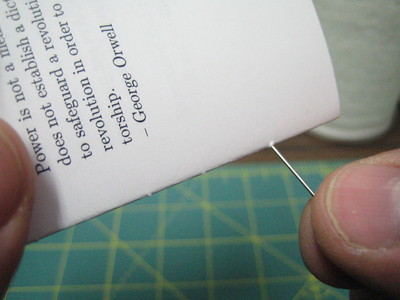
Start with the last signature in the book at the bottom hole.
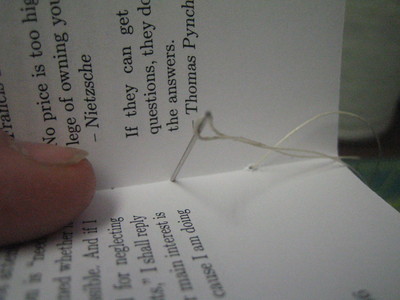
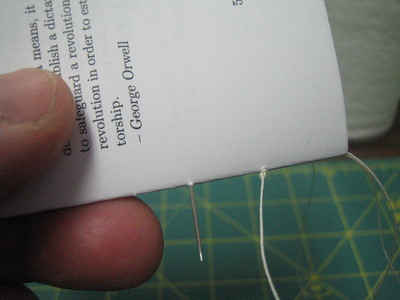
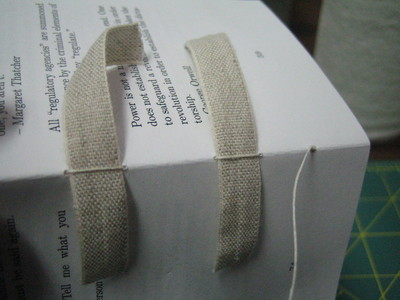
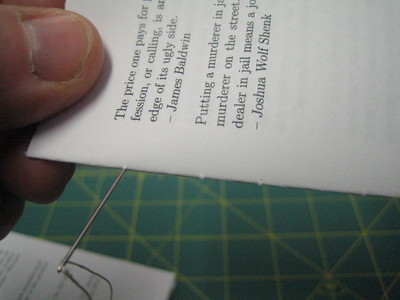
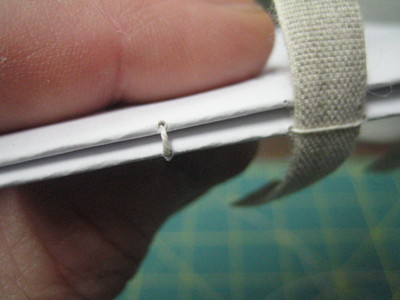
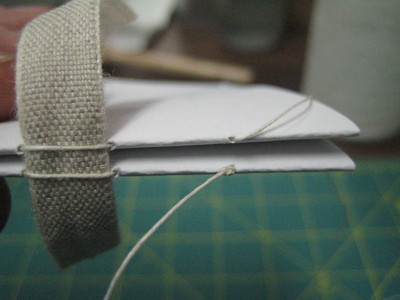
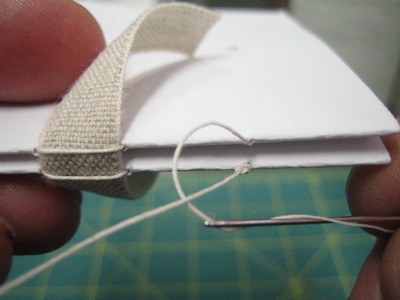
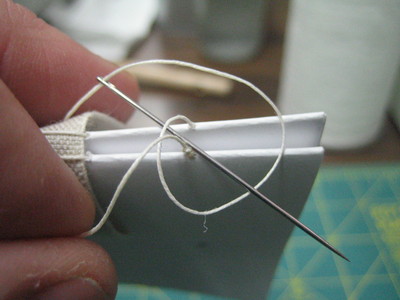
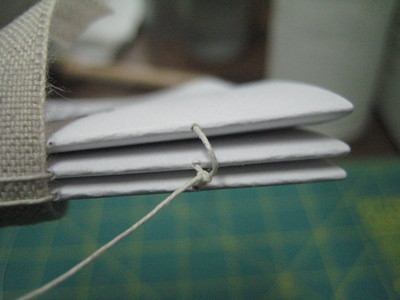
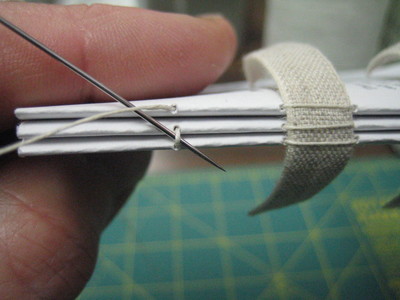
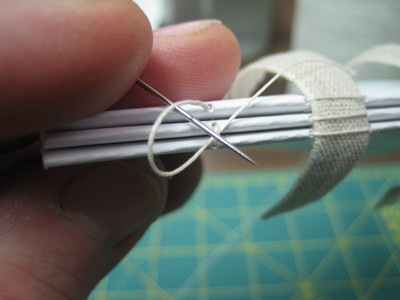
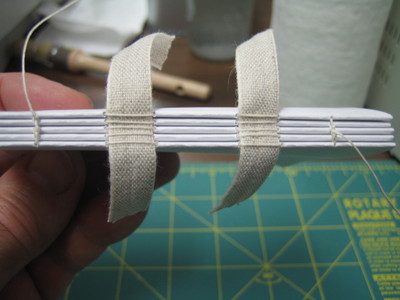
This is one of the simplest ways of sewing and it works well for a small book like the one illustrated. For large books, there are more complex sewing patterns that stabilize the signatures so they won't sag when the book is shelved.
Next: Gluing the book block